
1977 Elddis Cyclone part 2
After my parents collected the Elddis from Clumber Park, they parked it in my storage space so when I returned the next day, I had the swap to do. The short drive from caravan storage to home (a whole mile) had me excited to get started and stuck into the renovation but also giving it a thorough looking over to see what I needed to do.
The first thing to go was the old pans in the cupboard, something past their best but also the curtains, basic white cloth that had a smell that I didn’t want to be breathing in anymore, so they were removed. Removing the carpet involved a little more ‘care’ with a breathing mask, overalls and gloves to remove it. 40 years of grime, dust, dirt and, urgh, I’ll stop, but it had to go! Already the smells have started to life and a cleaner base of the interior is starting to take shape and brighter feel. A thorough clean down of the caravan reviled a good base unit for progressing to the nicer bits without any need for major wood work repairs. The ‘mains’ hook up that consisted of a metal industrial mains socket screwed to the wall, household wiring connected to a plug located in the gas locker! Yes, the gas locker, also where the battery was located, needless to say the 90’s style of add on(s) didn’t have the same safety standards of today. During the production of the 1970s and into the 1980s it was standard build (with a battery tray location fitted into the gas locker tray) to located the battery and gas bottle in the front box, standards have vastly changed in today’s world.

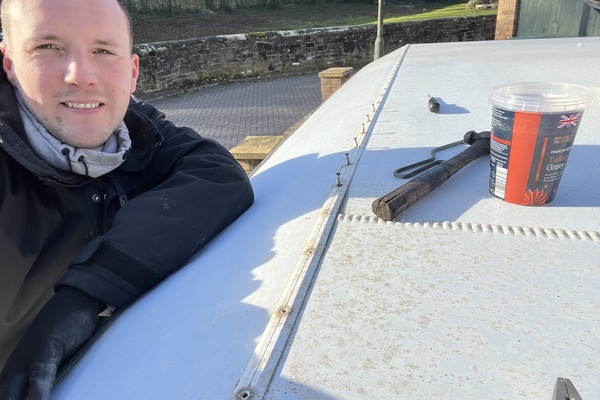
One thing that I did want to get started with was a through reseal of the whole caravan and given the age of the caravan the sealant is going to be the same age and will have mostly dried out by now and it had. All the rails were showing age as was all the screws, rusty and nearing nothing. I stared with the two roof joints, each and every screw I had to made a new slot with a junior hacksaw, flat screw driver tapped with a hammer and then carefully removed, all 54 of them, all 108 on the roof! The side rails are a little more challenging, they’re all stapled on, stapled. This means that each and every staple down each rail (there’s four on each side, 16 in total unless you count each rail, this includes the nearside that the door breaks up making it 20 rails) each rail contains around 60 staples, each needing to be removed individually with a hammer, flat screw driver and time, all of which means each rail takes around 2 hours from removal, clean up, holes made bigger for screws, new sealant and re-stuck, my hands hurt still, and I’ve 19 to go. A quick add up on hours spend on rails, 20x2=40 hours!!!! 40 hours of my life spent resealing side rails, not counting the roof strips, I’ll be glad when its finished.
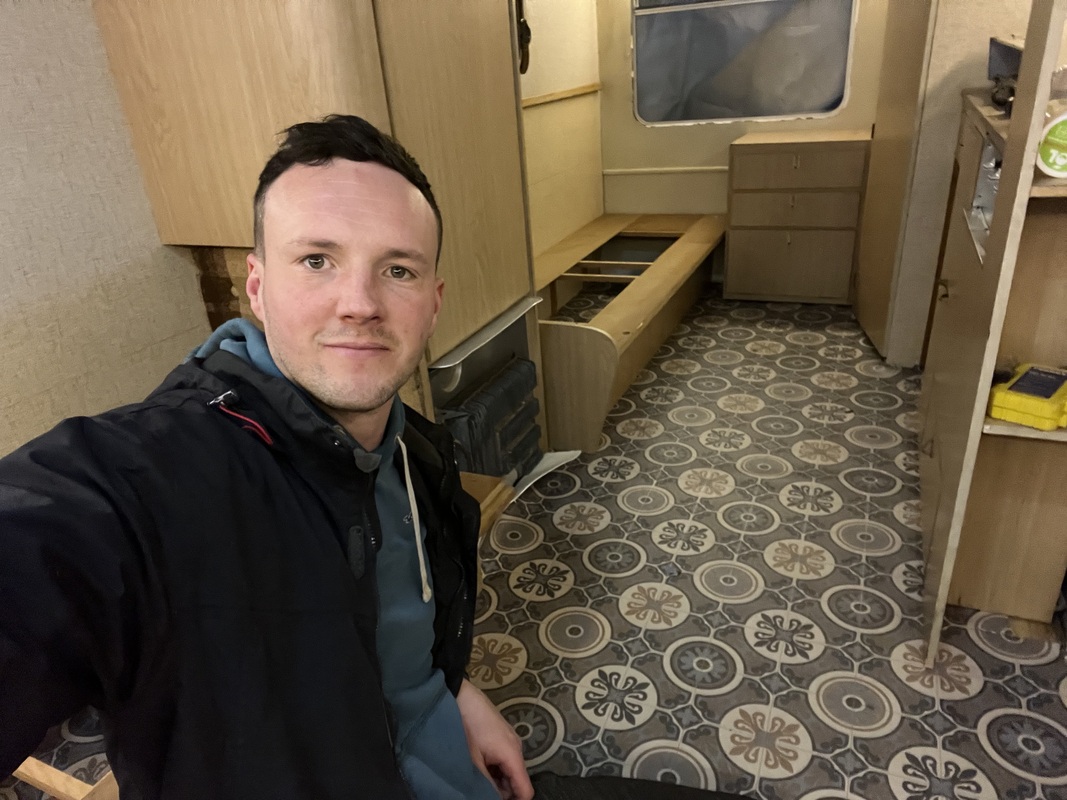
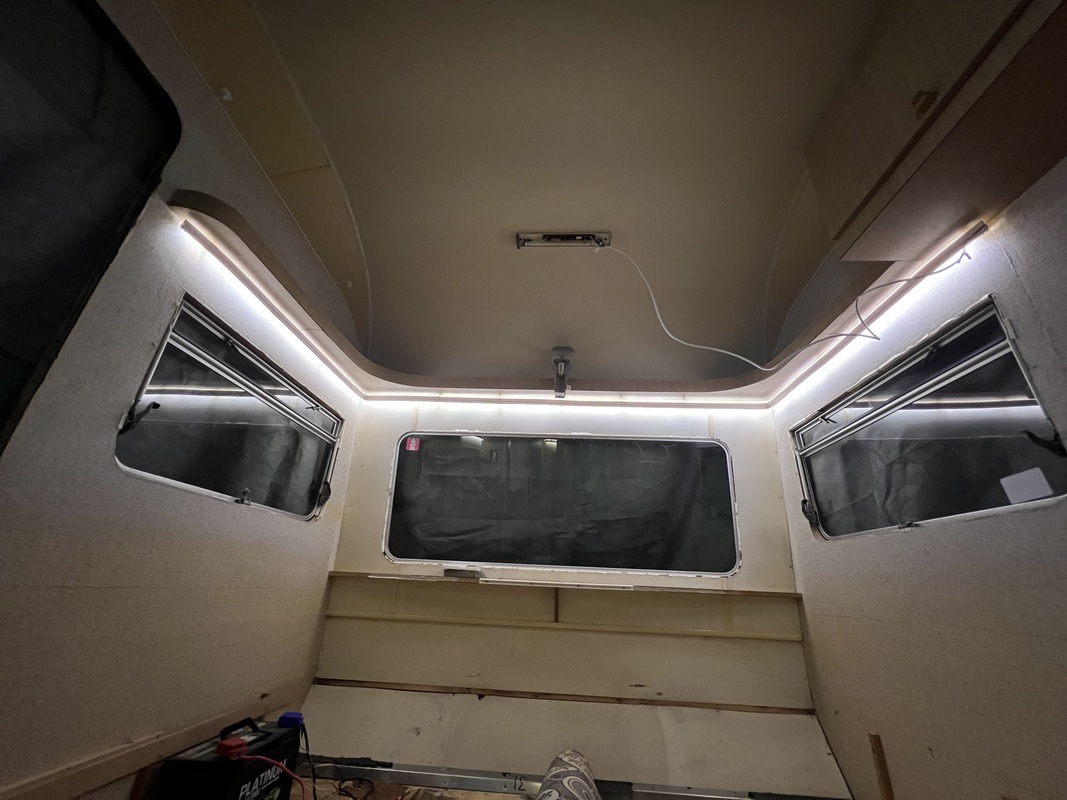
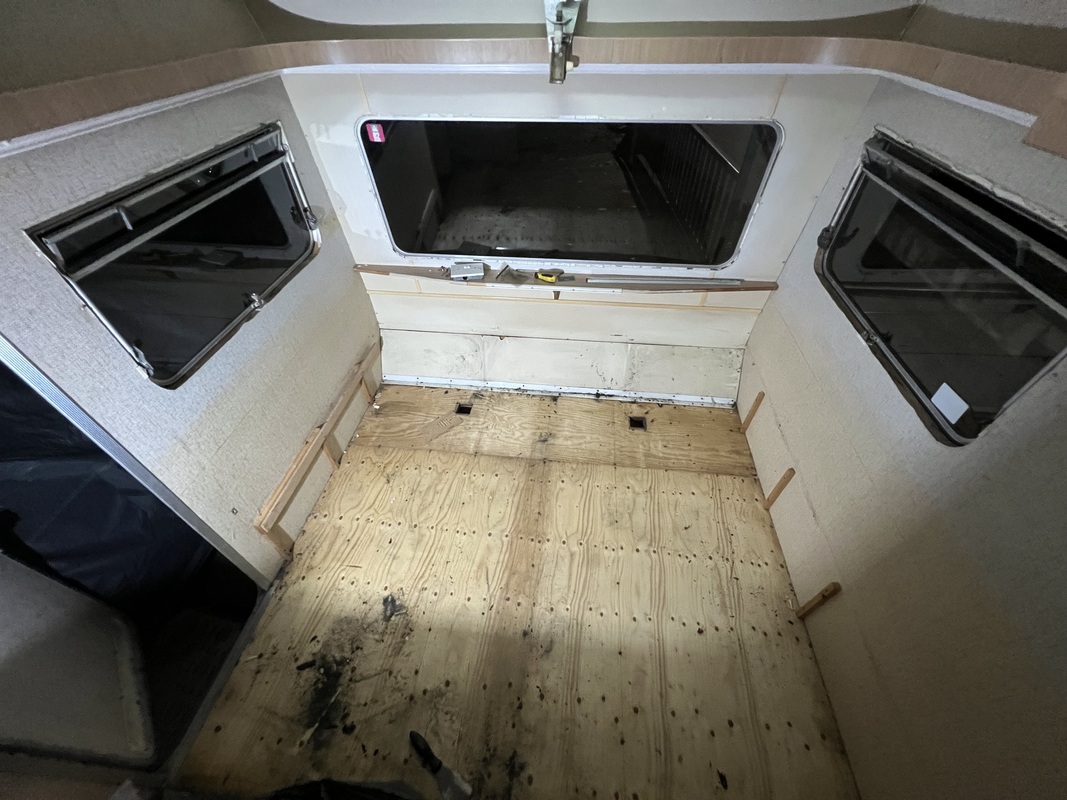
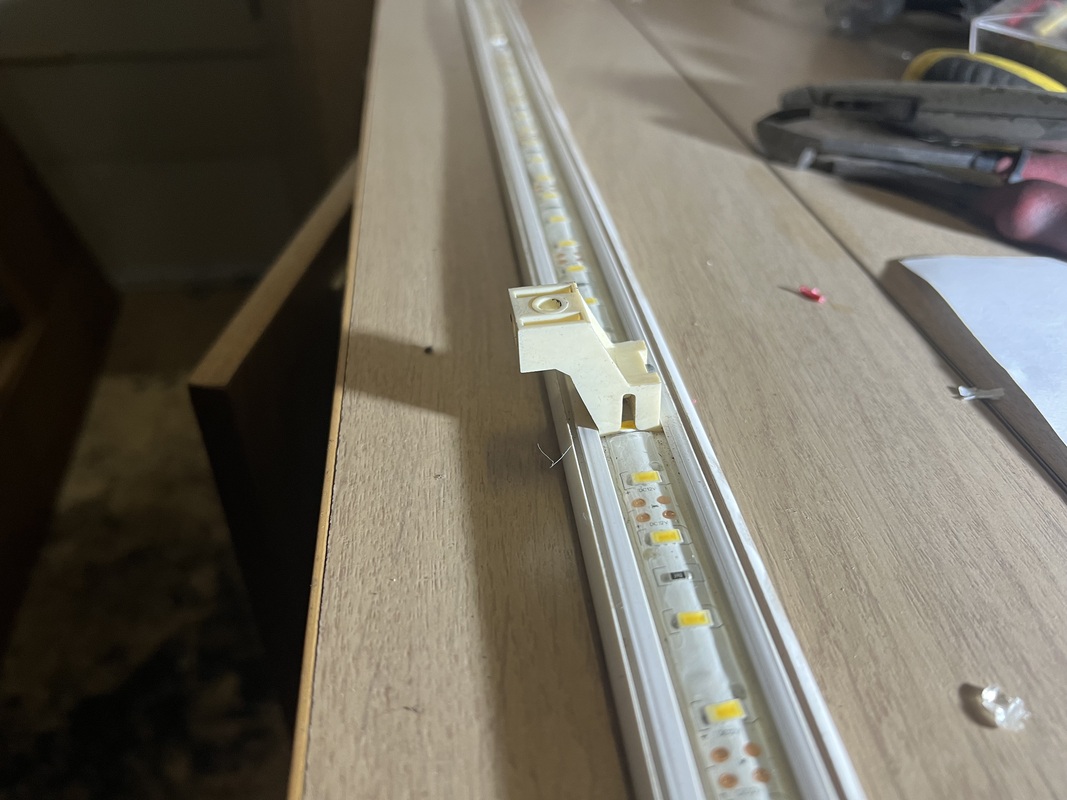
While it’s the winter months I’ve been undertaking inside jobs on evenings, days are for outside jobs and evenings are inside tinkering with the gas fire lit. While inside I’ve had the whole of the interior out, seat bases have been removed and a new lino laid, this has instantly lifted the caravan inside, it also allows for the furniture to sit on top of the lino holding it in place but also creating a much cleaner look to the inside. one addition I want is lighting, as standard when new it came with three, yes three fluorescent lights consisting of a 8W tube giving off a glow, this was the main electrical lighting in the caravan and the other being the single gas light located above the front table. One light is above the front table, one above the kitchen cupboard and the third in the toilet cubicle, that’s all you needed. Unlike today’s world where we want LIGHTS everywhere (guilty) it was the luxury form of camping; you’d have a proper bed for a start. On the cold dark evenings, I removed the curtain rails and run LED strip lighting behind the rails and refitted, this gives off a soft light from behind the rail so not to be a direct light for evenings but also to be discreet and keep the original look of the caravan without adding modern upgrades that stand out in too much, I want to keep the original feel as much as possible. I will keep the original lighting but upgrade it to LED for a brighter light for when I have to top up my gin.
I’ve been lucky enough to have found parts when I’ve needed them, one being the door hinges. The door has lost one of its door hinges, it’s had a length of wood fitted to the doors to hold both halves together and some awful looking metal plates inside that do the job but look ugly, so this is something I’m trying to sort. The door hinges I’ve managed to find, a member of the Retro camping Club carries spares of caravans and had a full set which I’ve bought. I am however needing a set of wheel arches if anyone has or knows of any please let me know.


You must be logged in as a member to add comments.
Become a member
Already a member? Log in or create an account.